2D plotter Part 1
Background:
Living in a small London flat in 2018 and having both a 2D and 3D printer is a bit frivolous. However, there are some occasions when you need to print the odd sheet of A4 so I thought why not kill two birds with one stone and enhance my 3D printer by adding a 2D printing option?
Goal:
Print on paper in 2D using my 3D printer
Stages:
Stage 1: Source pens with fine nibs, and design and 3D print a pen holder attachment.
Stage 2: Create a process and program that enables the conversion of an image to G-code.
Stage 3: Create a process that converts a pdf document to G-code, plotting to scale on an A4 sheet with no human intervention.
Stage 1
Ideally, I wanted to print text as small as size 12 font on A4 paper which would require fine nibs. I found a cheap set going down to 0.05mm in diameter with cylindrical bodies which provided suitable geometry for clamping.
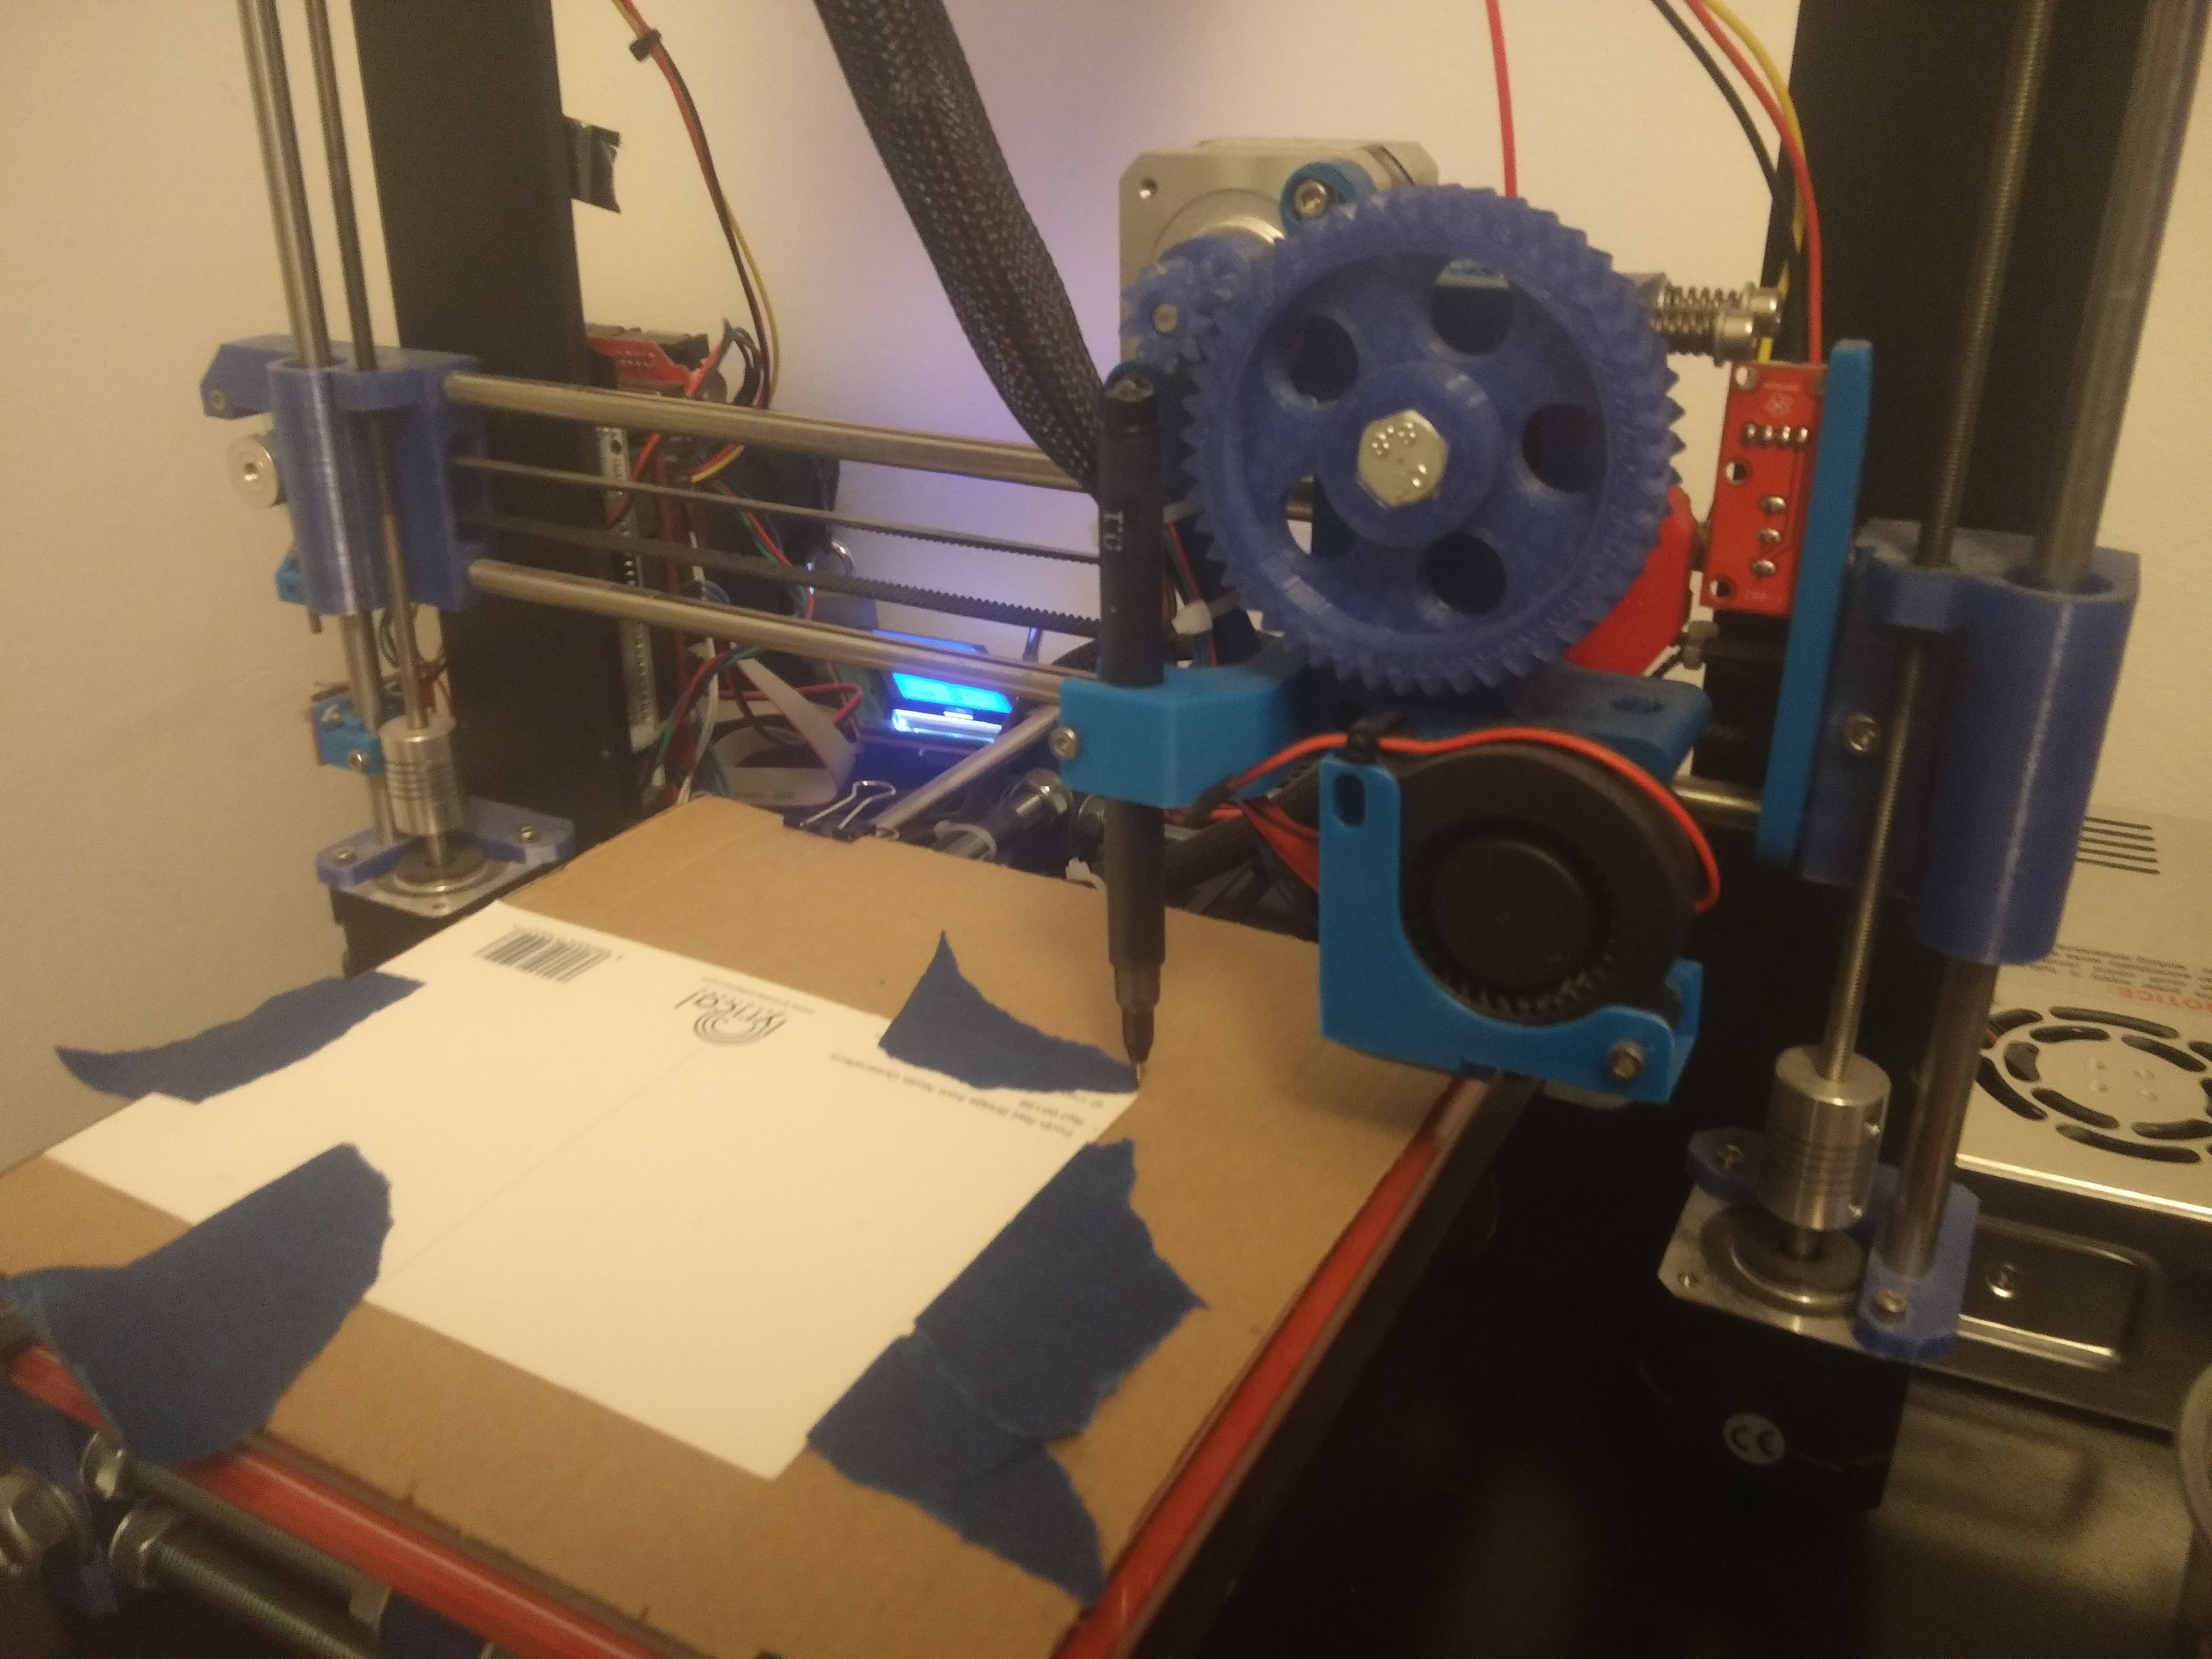
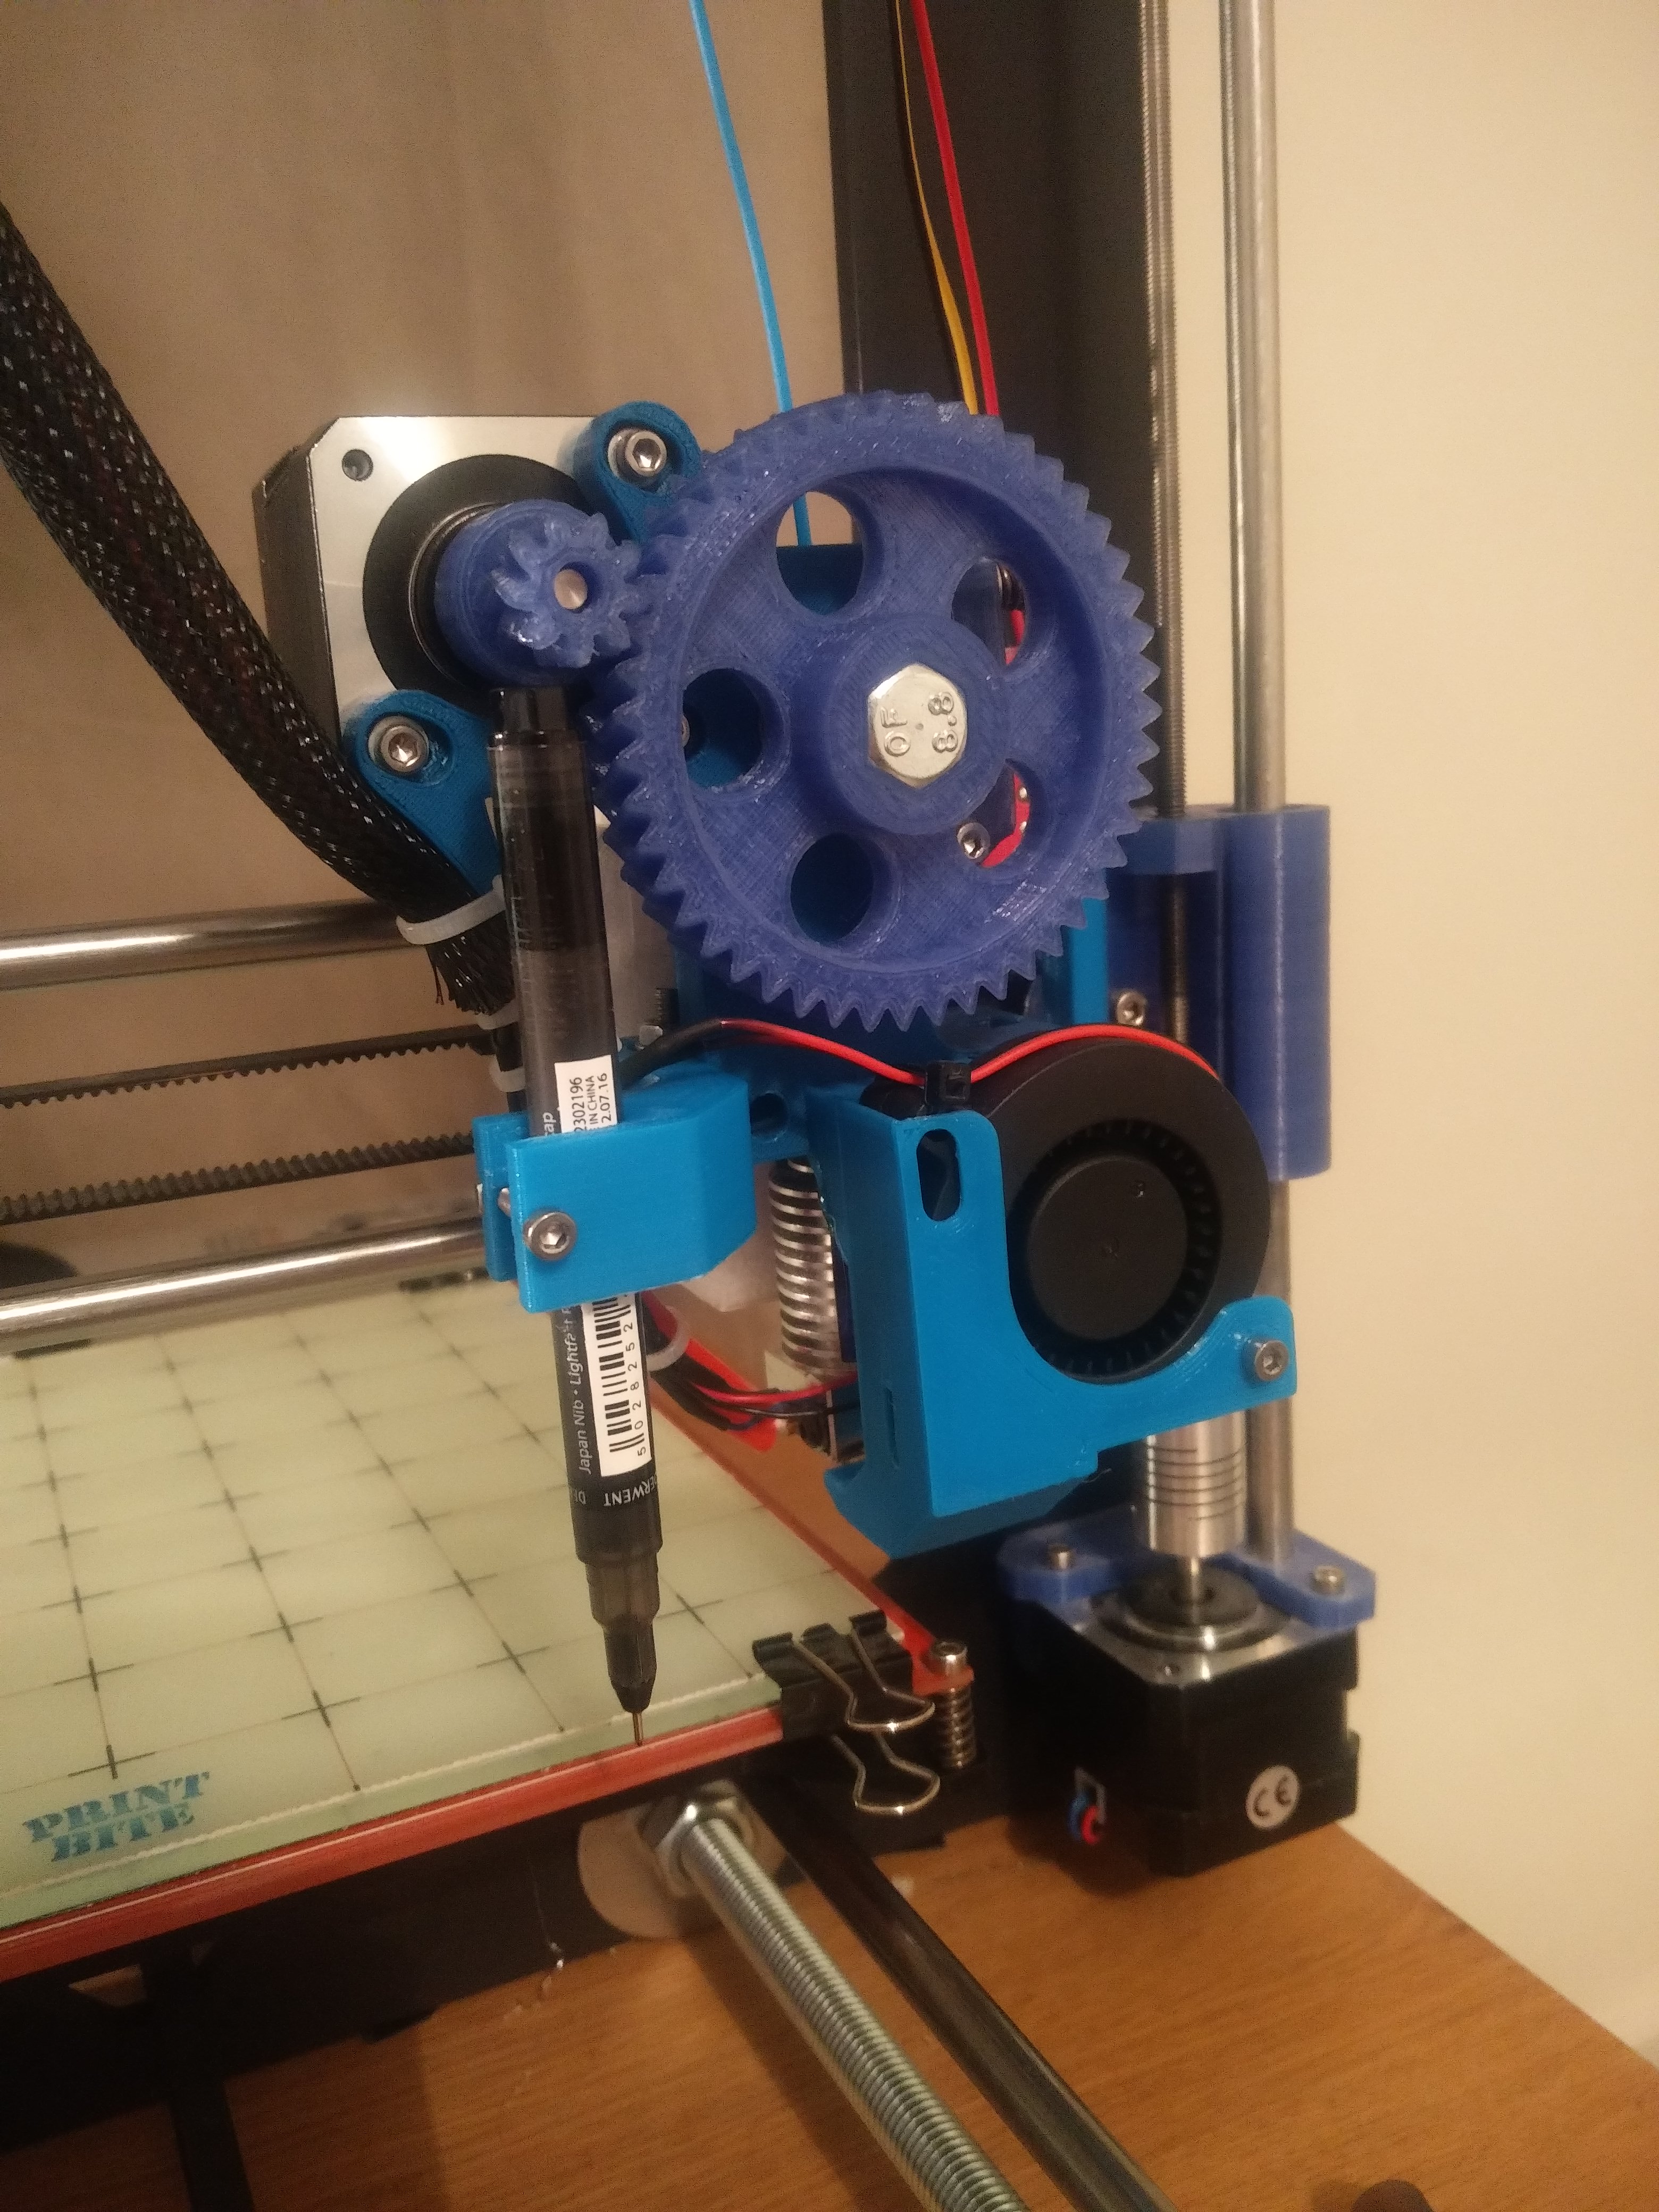
I designed a pen mount based on the pen dimensions with a clamp to hold the pen firmly during operation. It was a little tricky to retrofit it to my extruder but I managed to use a large penny washer to maximize the clamping surface area.
Stage 2
I decided to use Python initially to create a program that could convert any image to G-code which my 3D printer could understand. Using the Python Imaging Library, I wrote a script that would take an image as an input, convert it to black and white and iterate through the pixels, row by row. For each line of pixels, if the line contained any black pixels, this line would be converted to G-code with "G1" linear move commands. Between each line, I added a z-hop command to raise the pen above the page to stop it from dragging on the paper. At the end of the G-code line - at the start of the next row - I reversed the G-code to reduce the print time and remove unnecessary travel moves so the plotter moves in a scanning motion.
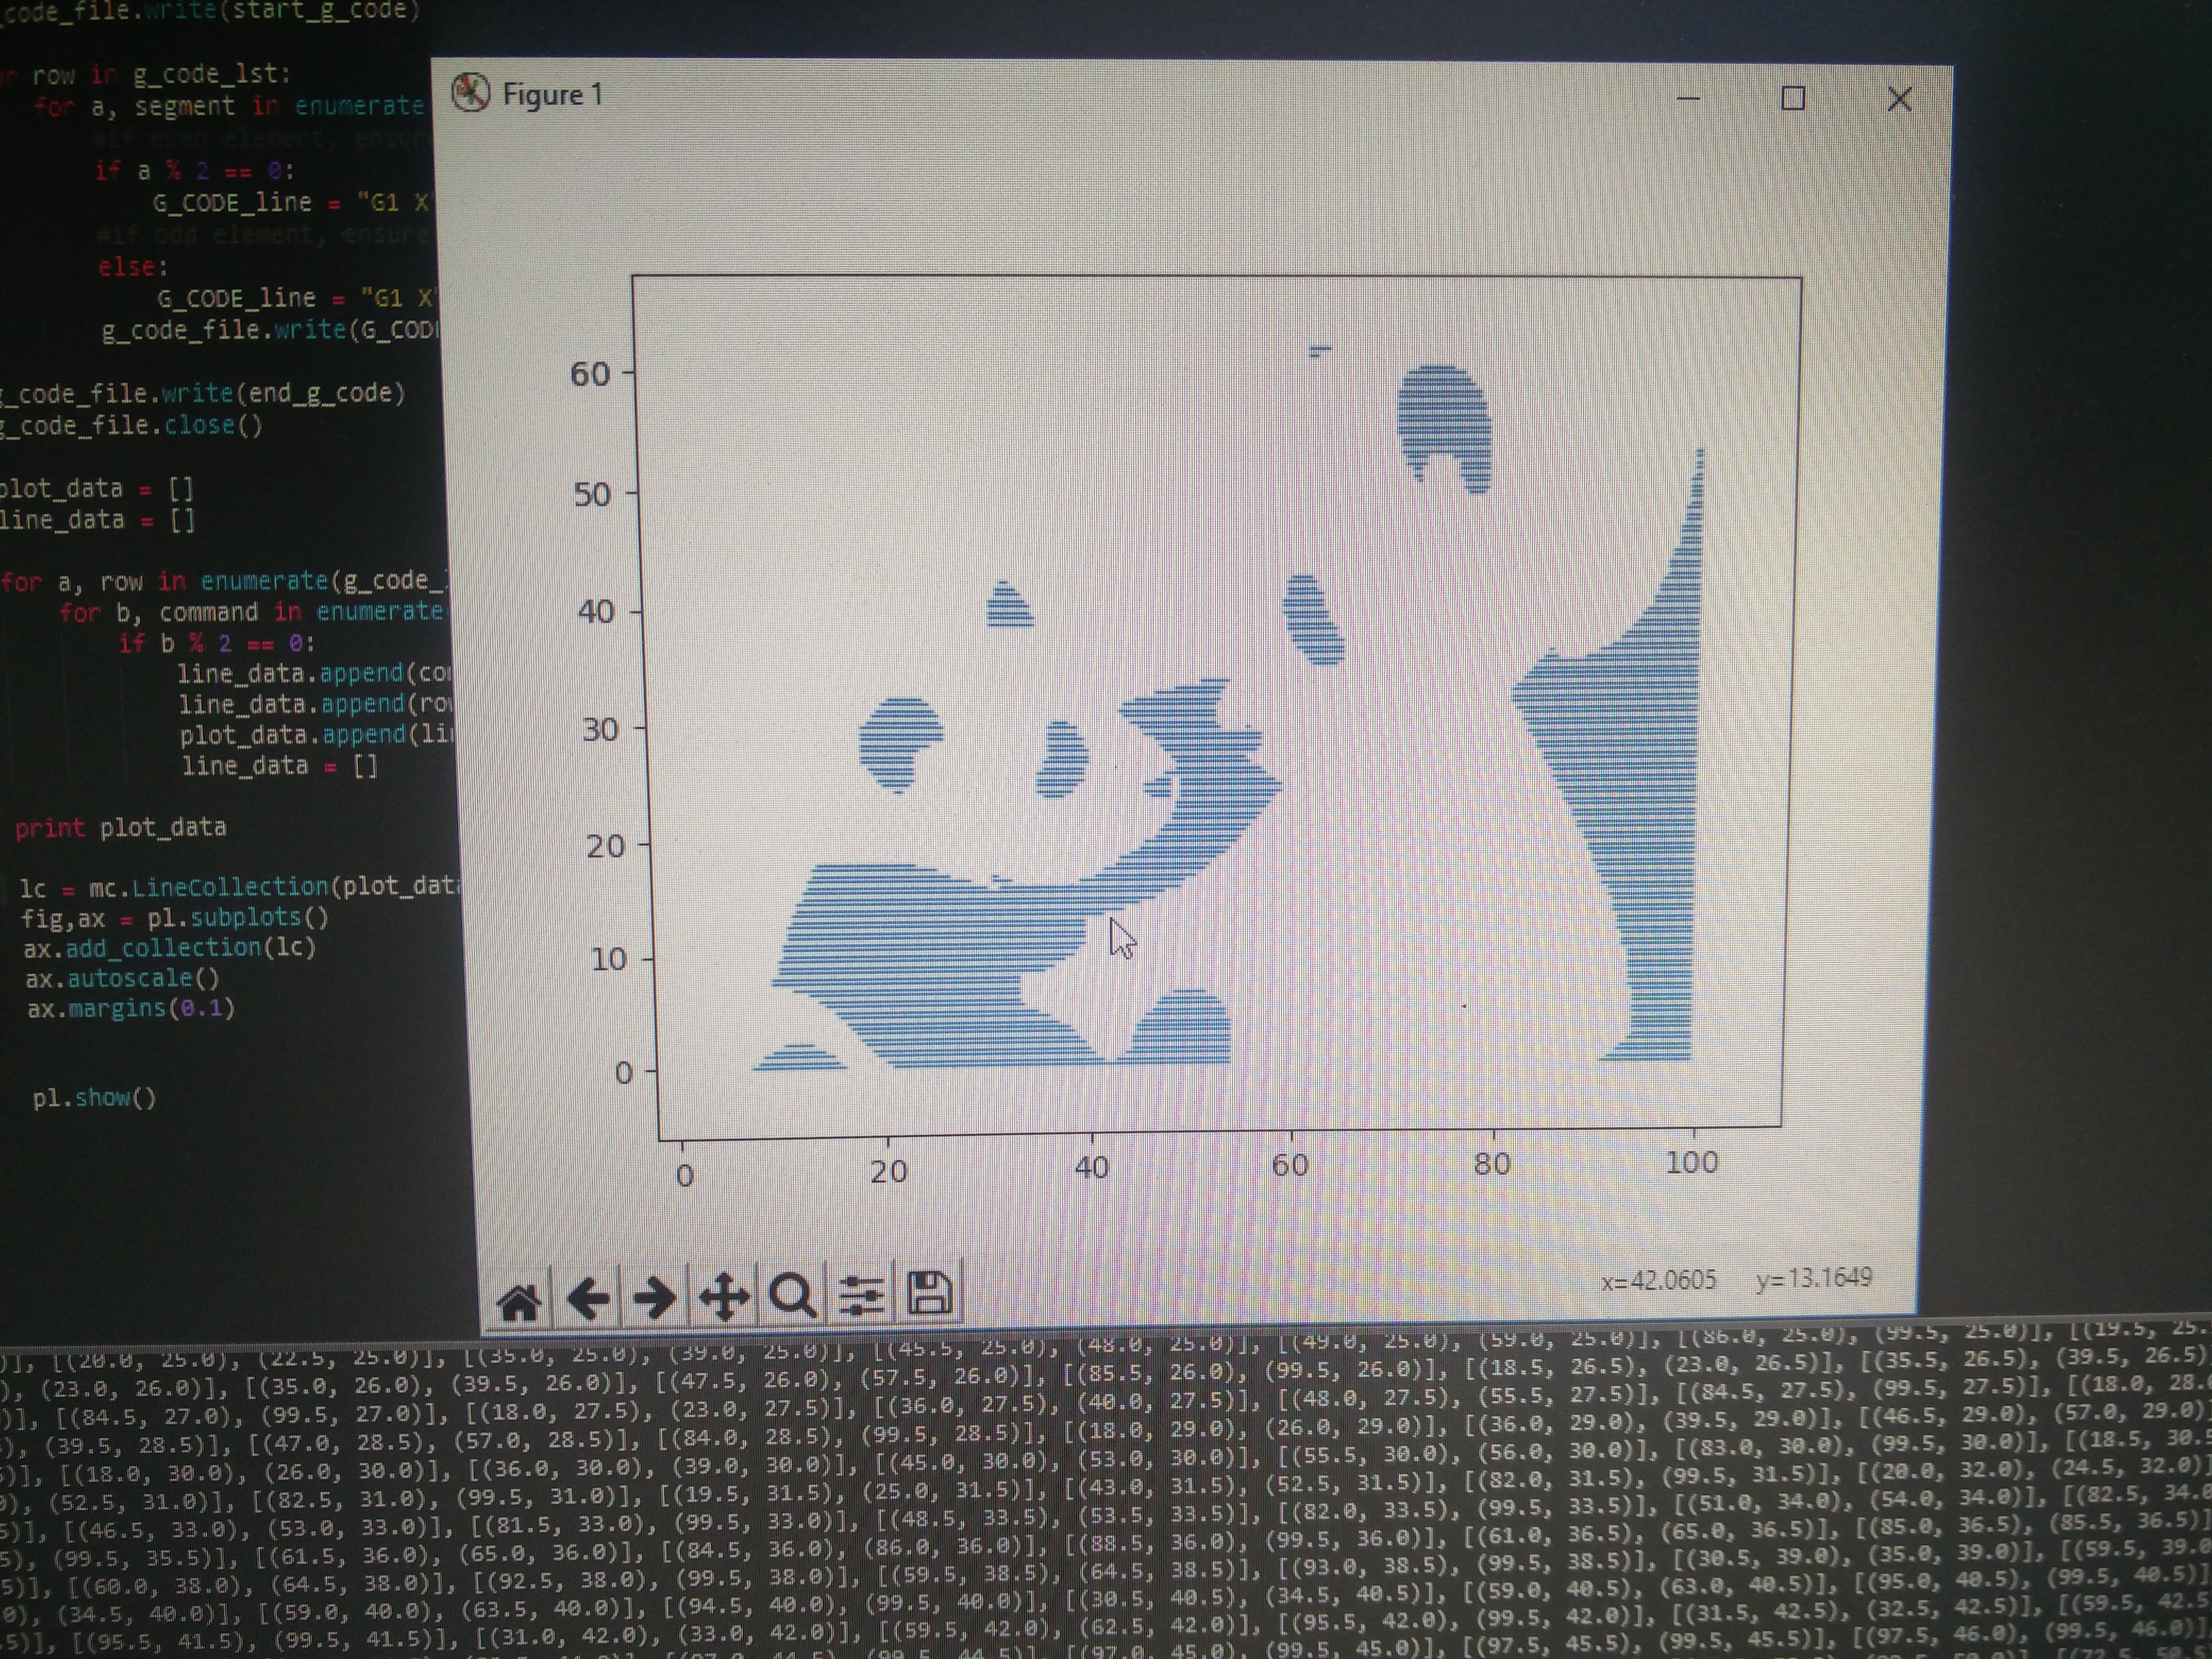
I created a plot to visualize the G-code and the printer produced the final result. It definitely is not the most efficient way of plotting but it produced quite a nice effect and reproduces simple images quite well.

Fast forward a few months and I discovered Fusion 360. As well as a 3D modeling package, it also has some impressive CAM functionality that can output G-Code that I can run directly on my 3D printer.

I found a practical use for the plotter - automating the production of my Christmas thank you letters. I created a postcard template in Fusion 360, positioned the text and used the trace CAM function to convert the text to G-code.
It took about 10 minutes to plot one postcard which is a lot slower than by hand but I haven't tested the maximum speed out yet.
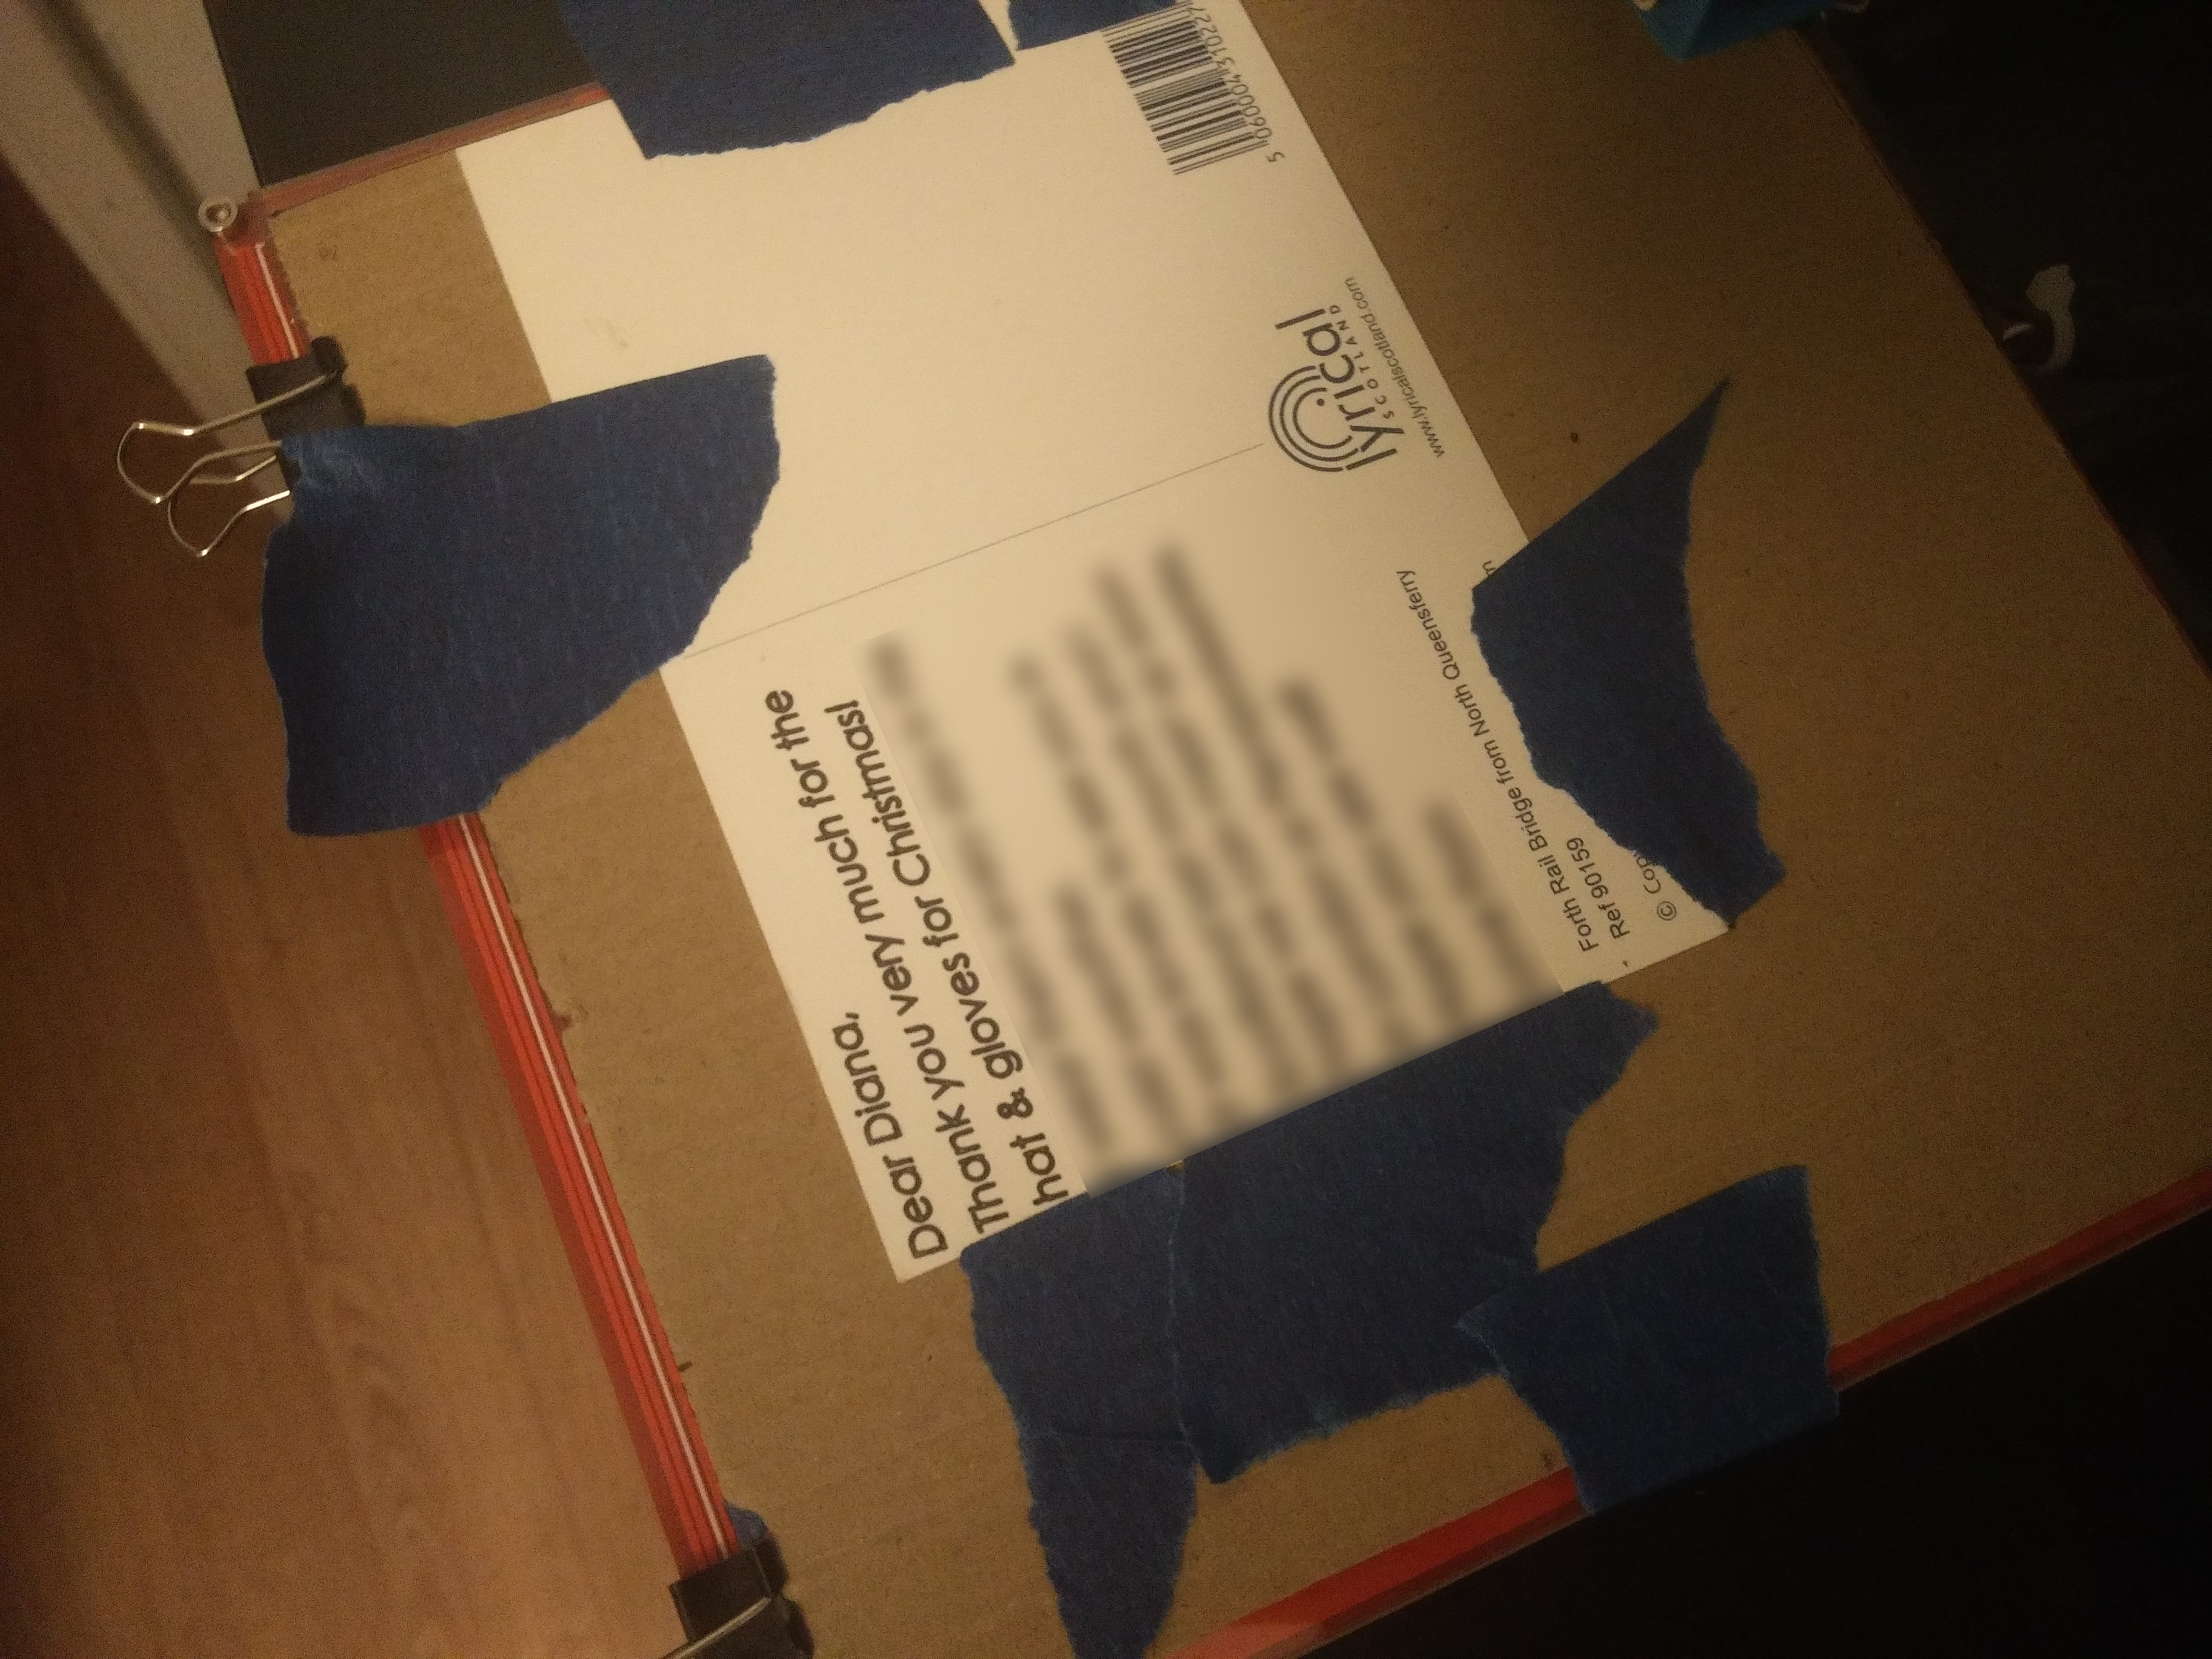
I was quite happy with the final result and thought it was a good sign when one of my elderly relatives to whom a postcard was sent commented that "nobody handwrites letters anymore".
The final aim of this project is to print any document on an A4 sheet. This will require some linear actuation on my setup for the plotter to reach the entire length of the page due to the 200mm x 200mm limit on my 3D printer bed.
Stay tuned for more 2D printing adventures.
Contact Me About This Post
Subscribe to Blog Updates
Enter your email to receive notifications when new posts are published.